
Hi all – I’ve returned from my summer hiatus with all new Peddler DIYs and Good News.
First – Good News – I am joining K n B’s Marketplace as a new vendor starting 01 Aug! I am thrilled to have a booth again and could not ask for a better establishment to join. A real top notch local business! They are located in Fuquay Varina, NC at 120 Raleigh Street. Come see my latest Peddler Finds!
My latest DIY – well really this was made probably early June but I went to find a cool, shady spot for the summer but now I’m baaaaaccccckkkkkk.
We (myself and my silent TUP partner, aka My Wonderfully Patient Husband) made a photo frame using an old screen, rivets, and roof flashing. Now this blog is about posting all my DIYs not just the ones that turn out fabulous. What fun would that be if you didn’t see the trials AND the tribulations? I am in awe of the many design and DIY blogs that make things seem effortless. Well, that’s not this kind of blog. See, I’m no designer and every time I pick up a powertool (other than a sander or a drill) I shake with fear of possibly injuring myself. So, this post is one of those that make me a real DIYer because well…..let’s just say somewhere between the idea and the execution things fell a little flat.
The idea to make a photo frame from rivets and roof flashing went something like this:
stop by local thrift store on way home from work
cool, old, very old, window screens with metal mesh
priced as $10 each – yowsers – too much – plus what would you do with them??
2 weeks later – should have bought the screens, should have bought the screens
for what?? that’s not the point – should have bought the screens…..2 more weeks later – pop in to local thrift store again for routine visit
The Screens are still here!!!! How much do you want?
$3 each – SOLD!Now why did I just buy screens?? What do I do with them? sigh……
This is the fun part – letting my brain flood with ideas of how to re-purpose these screens – the not so fun part is my husband telling me to stop buying junk. Maybe I enjoy re-purposing because I’m an over-analyzer – I enjoy taking an item and flipping it over and over in my mind to visual what else it might be used for. How to re-invent it.
These screens were love at first site. I’m drawn to old and dusty but also find myself interested in natural materials – my love for jute, sisal, tin, wrought iron, etc. is endless. I knew I wanted to do an art piece or photo frame but sorting through the ideas in my head was not producing practical ideas. They were cute and I could visualize them looking ok but when brainstorming how to execute, things were just falling apart. I had decided to turn one of the screens into a photo frame but couldn’t settle on the best way to have a photo “floating” on the screen. This is where my silent TUP partner introduced me to Rivets! I was going to use grommets but it wouldn’t have worked. Grommets are for pretty fabrics – a Rivet, a rivet is like a grommet on steroids – they are for heavy metal.
riv·et (n) \ˈri-vət\: a special kind of metal bolt or pin that is used to hold pieces of metal together

Rosie the Riveter, I am not! She was riveting B-29 bombers and I couldn’t even do ONE tiny rivet. I really like the way it turned out but unfortunately could not have done this project without my silent TUP partner. Not one, not even one tiny rivet could I do by myself.
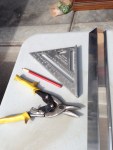
What you’ll need:
- Old screen (with metal mesh)
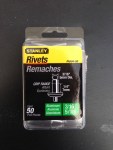
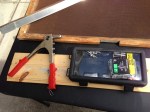
- Rivets and riveting tool
- Metal flashing (we used corner flashing found with the roofing materials)
- Tin snips to cut the flashing
- Drill
- Tape measurer and angle measurer
- “Representative” 8 x 10 photo (or the size photo you want to use; we used a sheet of paper trimmed down to represent 8 x 10 photo)
- wax pencil, or chalk (to mark measurements on the screen)
Wood screens turned Photo Frame – DIY Steps:
- Use the “representative” photo to layout and measure where the photos are to be placed on the screen
- Cut 1 roof flashing point to act as each photo corner. We used roof corner flashing so all we did was cut triangles using the angle measure to ensure we had 90 degree angles.
- Drill holes in each of the 3 corners of the triangle flashing points – be cautious that you’ll need extra room around the hole for the rivet rim to cover.
- Attach the triangle flashing points to the screen with rivets using riveting tool.
Voila! One Wood Screen turned Photo Frame….
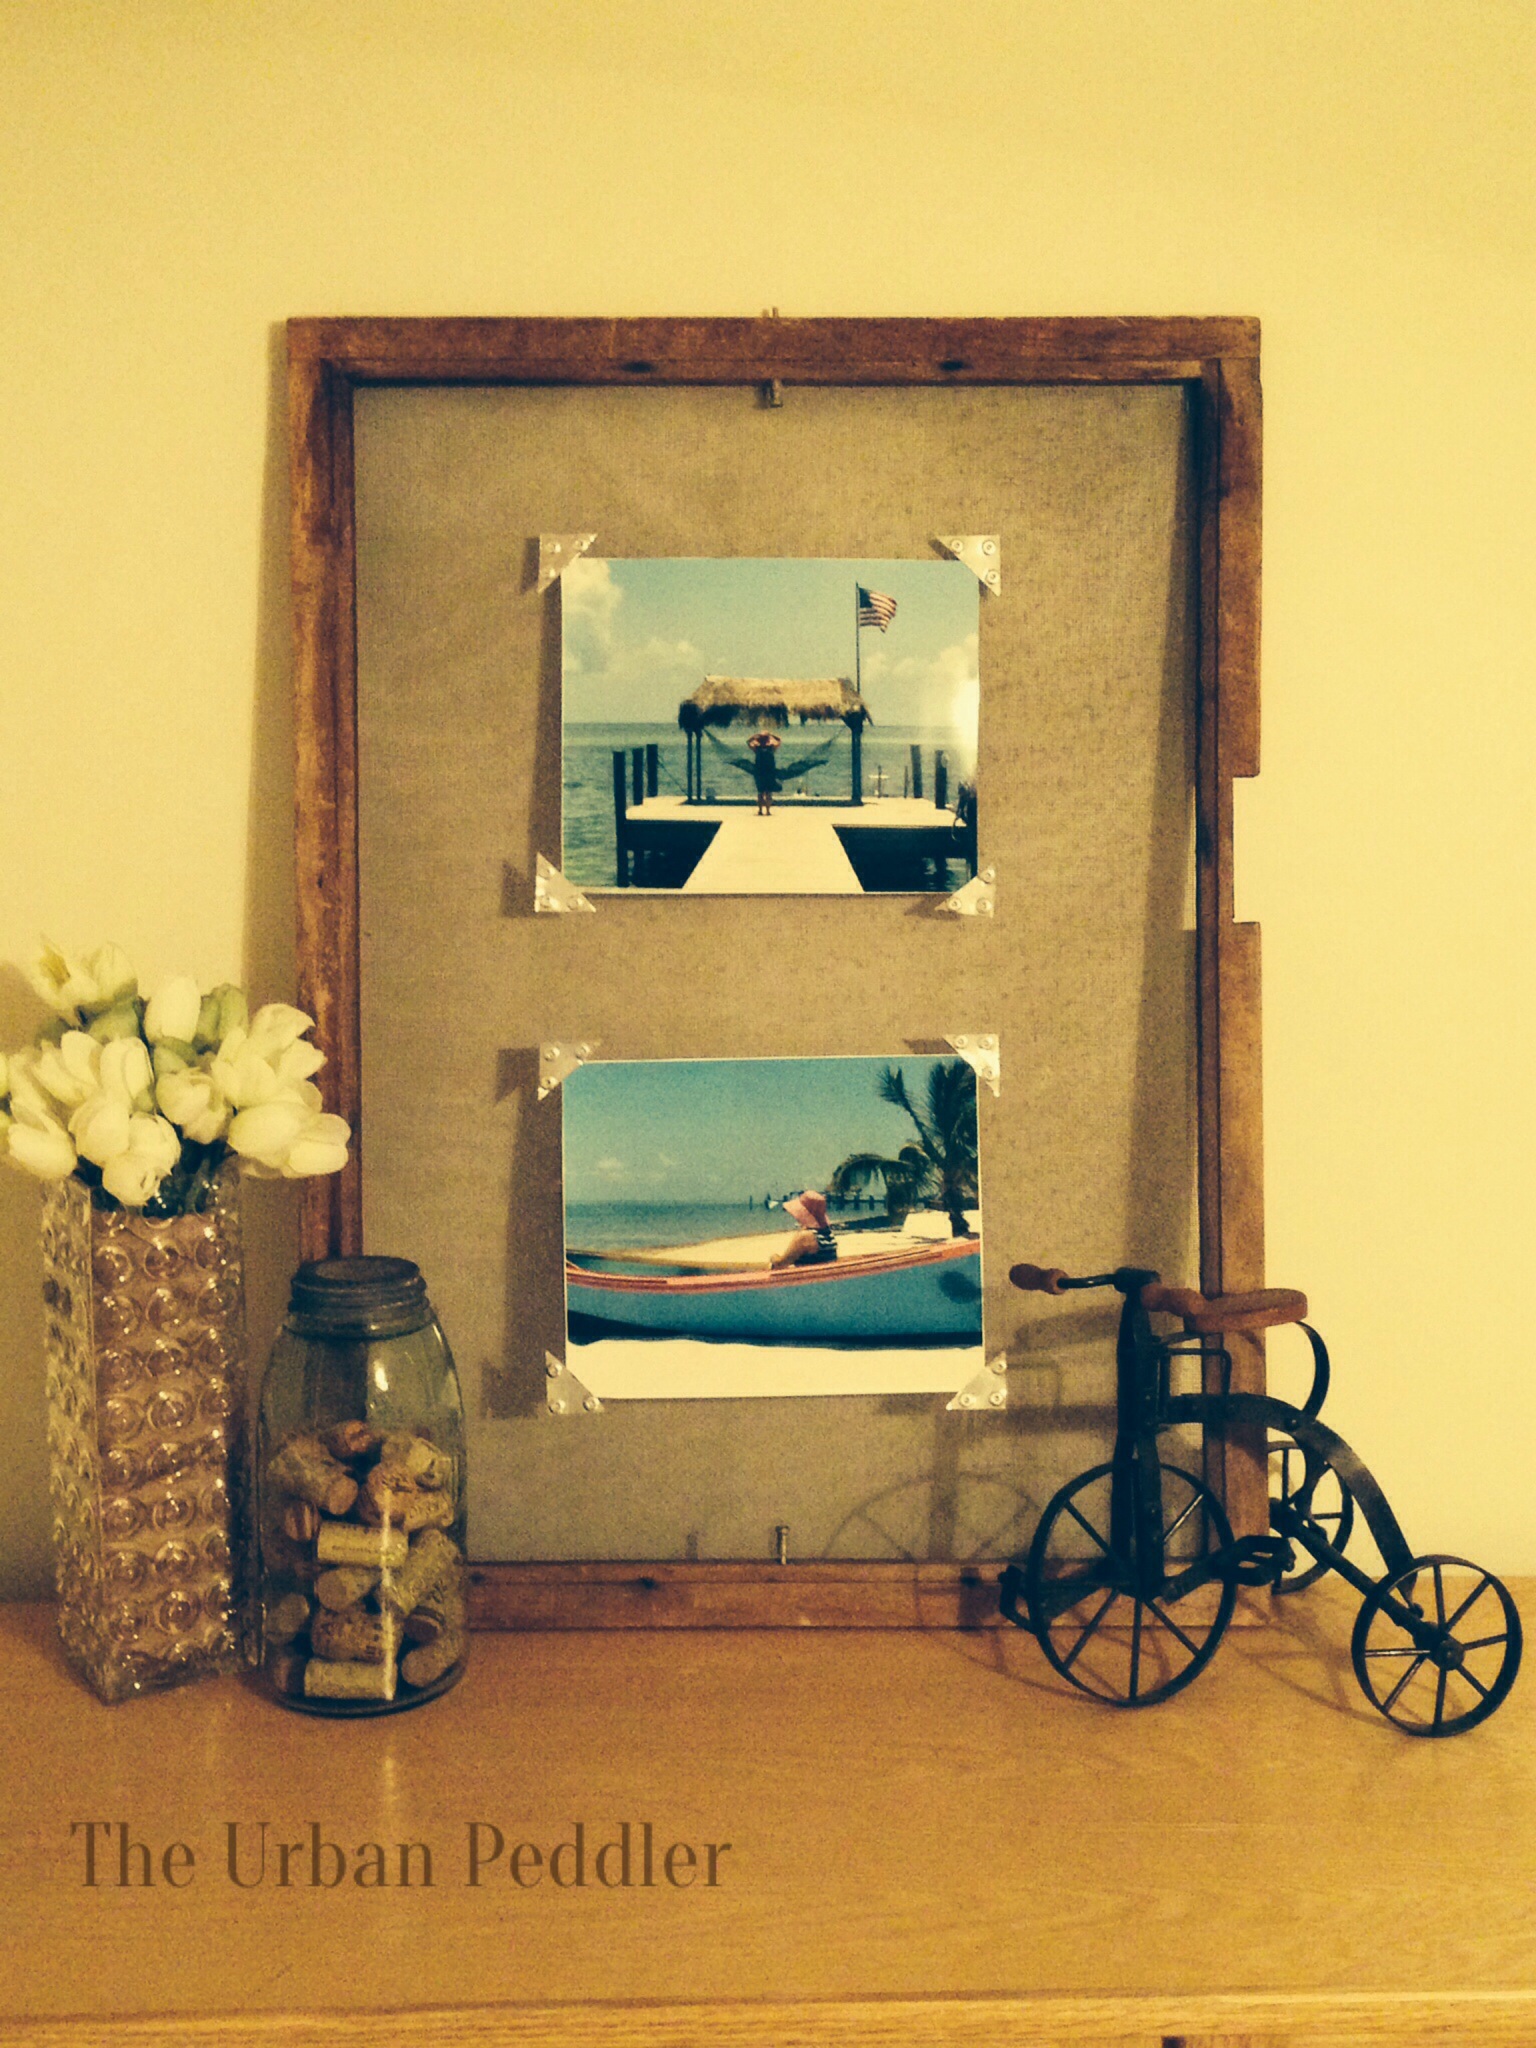
Ok – so let’s be honest, I can sum this project up neatly into 4 steps. What really happened is My Silent TUP partner did everything except cutting the flashing points in Step 2, oh and I did drill a few of the flashing points in Step 3. Really for this DIY I was more the visionary, the supervisor – I give him credit for planning and executing this one but hey, if you don’t have an idea then there is nothing to plan so I guess I’m still higher in the hierarchy.
All in all, I am pleased and think it’s one DIY that I’ll keep for myself. 🙂
Happy DIYing and come see my new inventory at KnB’s.
– the urban peddler –

