I’ve been feeling uninspired lately. Perhaps it’s just cabin fever from the cold weather we’ve been having or because I wish I had more room to work on things. In our dream world, my husband and I would have his-and-her workshops. Right now I’m overwhelmed with STUFF. I’m looking forward to the end of March when I’ll be at the flea market at the NC state fairgrounds. The more I can sell, the more I get to buy. When you’re a DIY Re-purposer that’s the unfortunate addiction – BUYING more stuff.
DIY re-pur-pos-er (n.): person that tries to change something so that it can be used for a new purpose without losing any fingers.
I love going to auctions or an estate sale. My very first auction which I attended by accident was an interesting event . I thought I was going to an 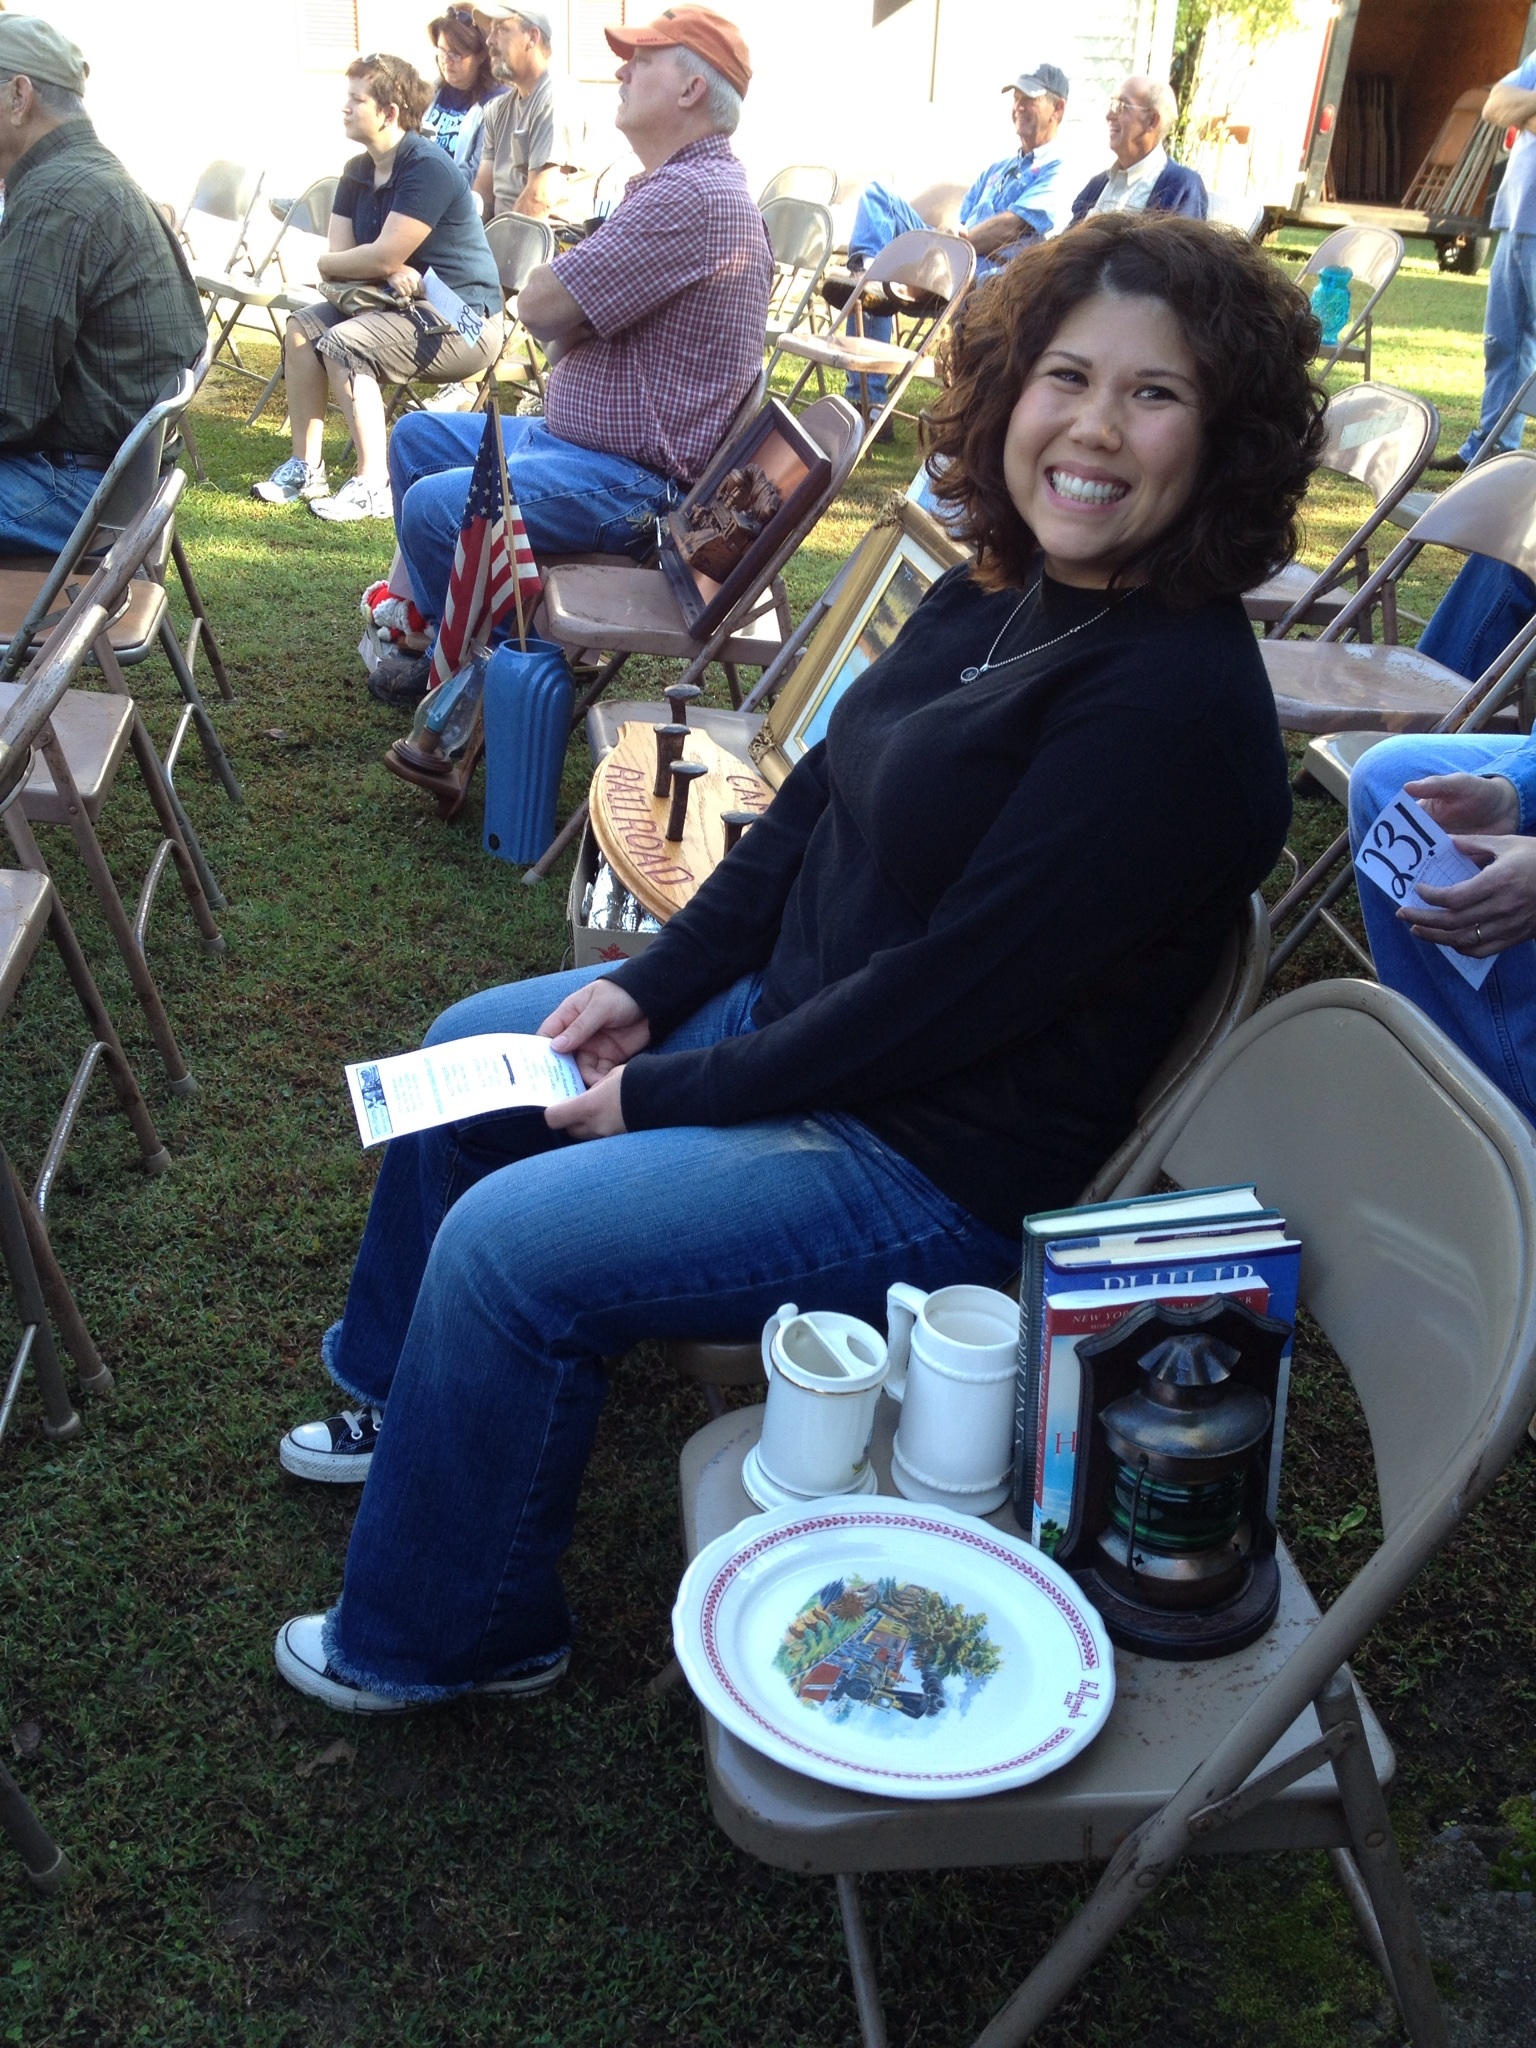 estate sale which is like a garage sale but you get to shop the whole house but when we walked around to the back there it was…….speakers blaring the lightening speed auctioneer calls, people were flashing up their numbers, it was love at first sight! I had no intention of participating. Auctions are intimidating but I told my husband I wanted to stay and watch. He bought a bid number just in case we did want to buy something and the rest is history. I was there almost 10 hours! They had to about kick me off the property. That’s me at my very first auction!
When I buy pieces they usually just evolve – I rarely have a specific vision. That’s the great thing about DIY-ing if you don’t like the way it turned out just try it again. That’s how I work on pieces – paint, paint, sand, paint again, sand, etc. I’ve come across my most favorite distressing technique this way – I call it Layered Distressing. I was inspired by this scrappy little white dresser I bought – sturdy, from the 80s, brass hardware (sorry no pic, I promise I’ll improve on the visuals). A very unassuming dresser – clean lines – cute little square about 3ft by 3ft. You could tell someone fought hard to keep this dresser alive. It was thick with paint. Like I said, I had no vision just got to prepping it. Pulled off the hardware, pulled out the drawers. I knew it was solid wood which is my preference for furniture. As I started to sand the dresser, one layer of paint after another started to peek through…..chocolate brown, red, navy, green, and the natural wood all mixed with the white exterior layer. I decided all this little dresser needed was some room to breathe through all those layers of paint. The mix of the colors gave it a true weathered look. Sorry, I don’t have a pic. This was early on when I first started DIY about 4 yrs ago. I put it in my booth at the time and it sold the very next day. I’ve preferred layered distressing ever since. I usually do a minimum of three colors. Let each layer thoroughly dry otherwise they will bleed into each other and create a new color which can sometimes lead to interesting results too.
I’m obsessed with beach colors and themes right now so in the spirit of wishing for warm weather here’s a mirror I recently finished. I painted it electric blue, then lime green, then antique white. As I said, pieces just evolve so when I start the distressing process I try not to get anxious – almost every piece I’ve ever distressed I’ve wanted to abandon and re-paint almost immediately but each time I learn that if you just commit, it turns out exactly how it’s supposed to. And if you get to the end and it still looks ugly then you just paint it again. 🙂


Happy DIYing!

