Monkey Fist nautical knots are all the decorating accent rage right now. You see them as fillers everywhere – displayed in simple vases or used as bookends.
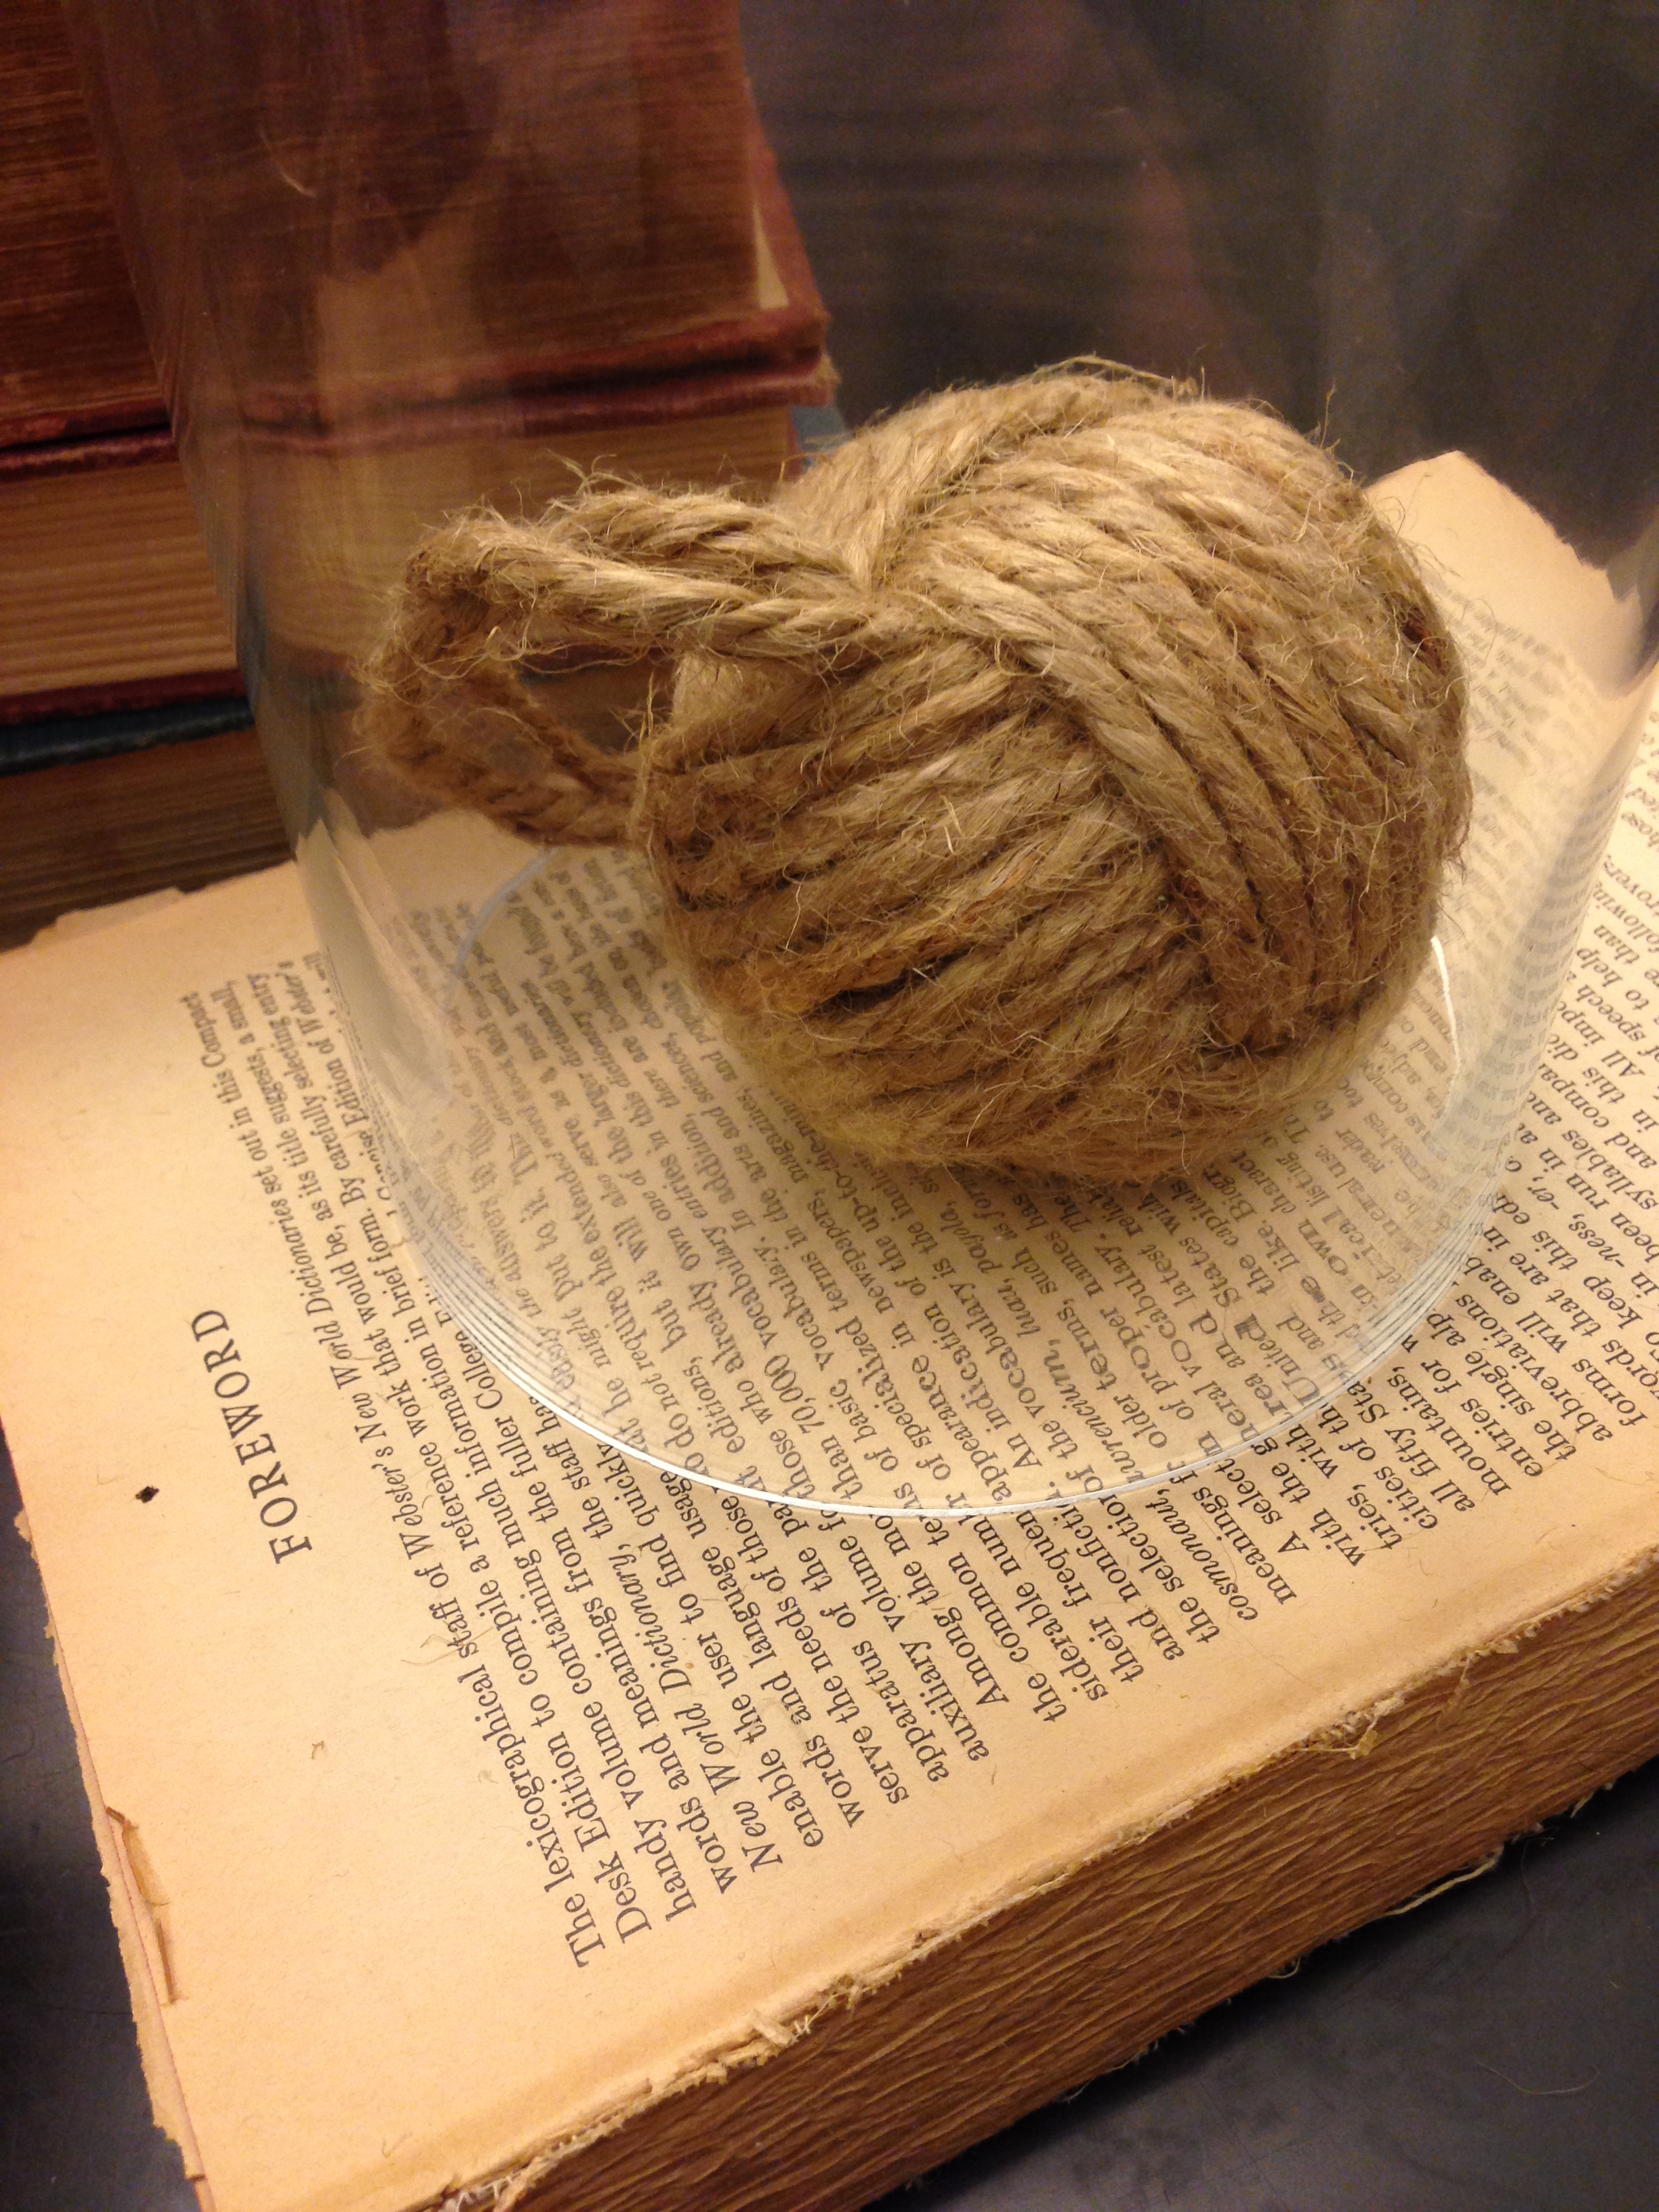
I’m drawn to natural materials like jute and sisal so it was not surprising that I started to become obsessed with these intriguing little decorations. Not to 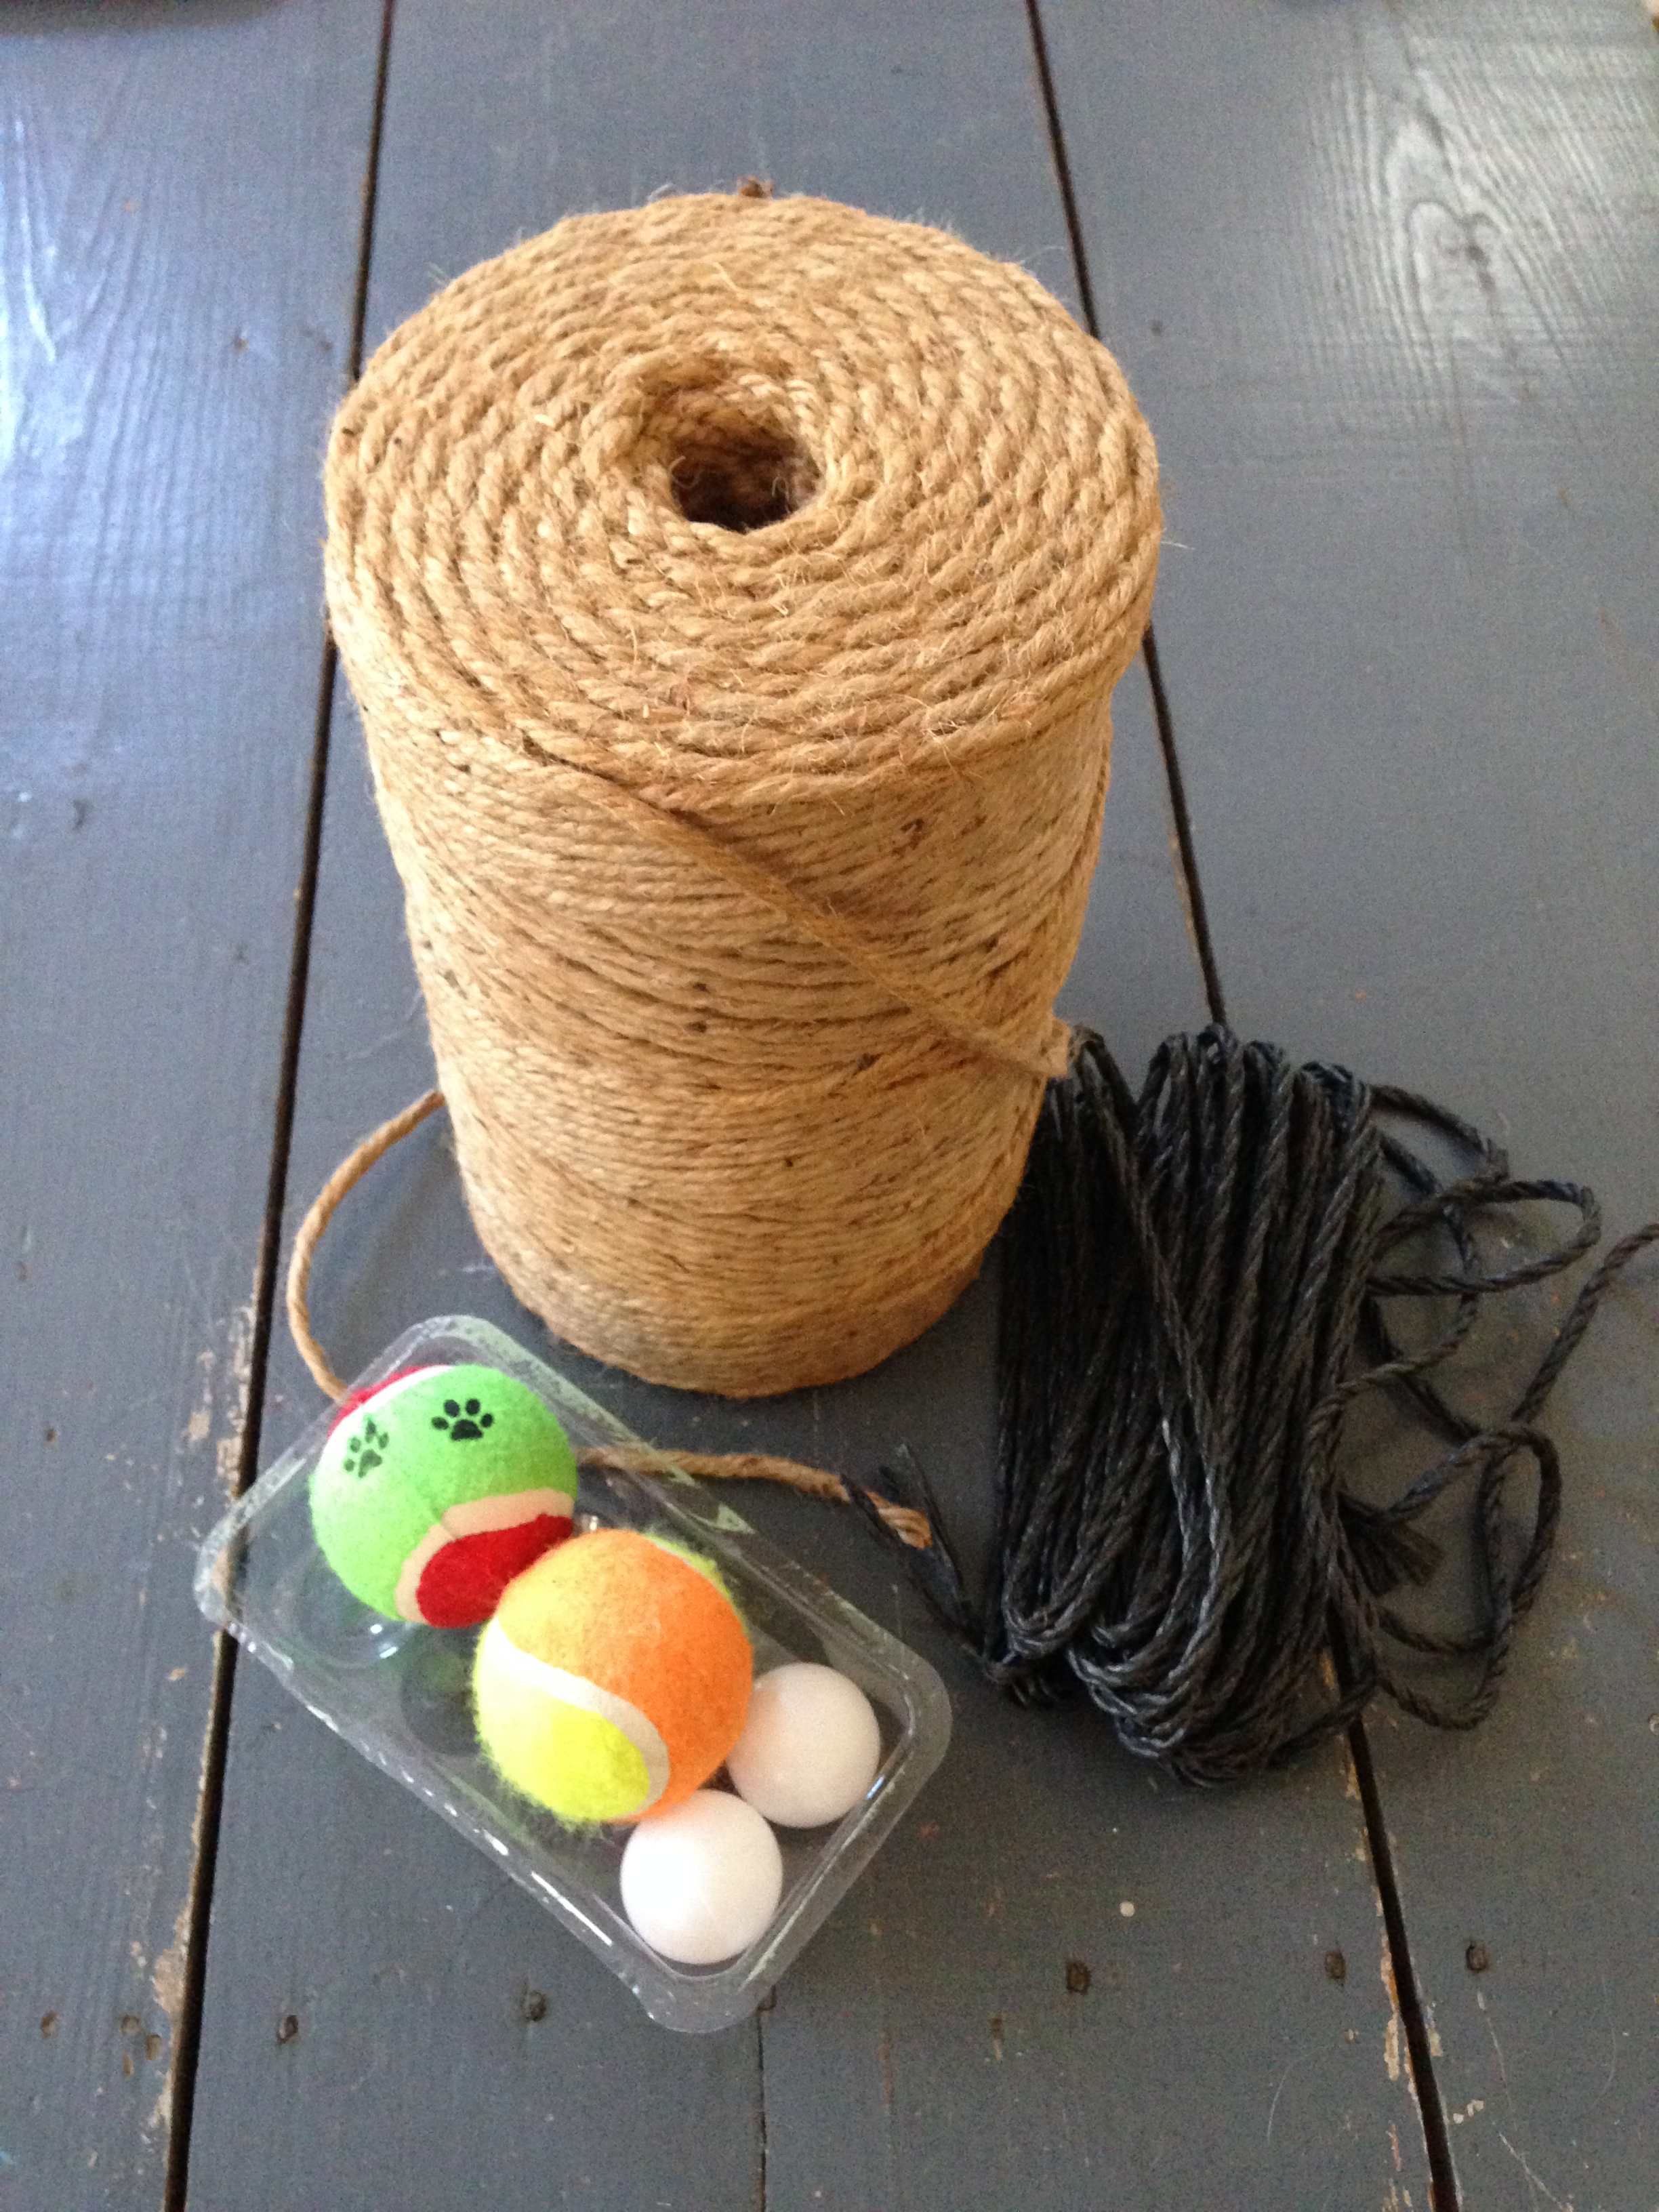 mention I’ve had this spool of THICK twine that’s been burning a hole in my DIY overalls. I got it from this dealer at the Liberty Antique Festival (another must see NC antique festival – http://www.libertyantiquesfestival.com/) – he said he’d been carrying it around with him for years and was happy to pass it on to me – I think I recall his exact words were “I’ve never seen anyone so happy about twine before”. I got it for a steal! This twine has always been destined to be transformed into Monkey Fists.
Functionally, sailors use monkey fists at the end of heaving lines or buoy lines. It’s a complex looking knot with a mysterious no start and no end appearance. Thanks to the internet…….I set off to learn how to make a monkey fist knot.
Materials: (will vary depending on size desired – included below are the measurements I used)
- Rope (approximately 24.5 ft; diameter 1/4″ inch)
- weight inserts – floral sphere or tennis ball (approximately 3″ diameter)
- straight pins (they help keep the rope in place while you work)
- scotch tape (wrap ends of rope in scotch tape – this will help the rope to not fray while threading around the sphere.)

Step 1. Loosely wrap the sphere with the rope about 8 times. Place a straight pin in the first row to keep things static while you work and then the last row once you complete the wrapping.

Step 2. This will be your first turn. Now wrap the sphere 8 times winding the rope around the sphere toward you.

Step 3. Once you’ve finished Step 2, we will make another turn – see green straight pin – Picture A below. You will now thread the rope down under the RIGHT horizontal wrappings (Picture A – side with green straight pin) and up under the LEFT horizontal wrappings (Picture B – side with black straight pin). Continue wrapping.
A.  B.
B. 
Step 4. Using your starting end, tighten the rope while re-tracing each rotation around the sphere.

Peddler Tip: If your monkey fist is looking more like a jumble of rope than an organized knot, do not abandon things yet – walk through step 4, tightening the rope before you give up (or hopefully just start over). Step 4 gives a true understanding of the knot – being able to retrace the exact flow of the rope is key – and often times once the knot is tightened it takes just the right shape.
There are a variety of ways you can add finishing techniques – with handles or no handles. I prefer no handles and just continuing tucking the ends in until I have a seamless ball or I will bring the ends up at the same exit point and tie a simple knot.


Happy DIYing!
– the urban peddler –


So cute and a great tutorial!! You make it look easy!