
How to re-line a vintage suitcase and Re-purpose as extra storage or side table top with a creative display. (click on pics to view larger)


If you’ve ever seen a vintage suitcase then you know the exterior might have the normal wear-and-tear that can qualify as “character” but the insides usually need some TLC. The lining of a suitcase is always a little creepy. There’s usually the musty odor, a few questionable spots, and if you’re really lucky it will have the shiny, satiny material that reminds me of parasols. I think this material is weird – maybe because I find it too frilly. I’m much more functional than frilly.
One of my favorite Peddler Finds was a petite, sassy, little suitcase……Allow me to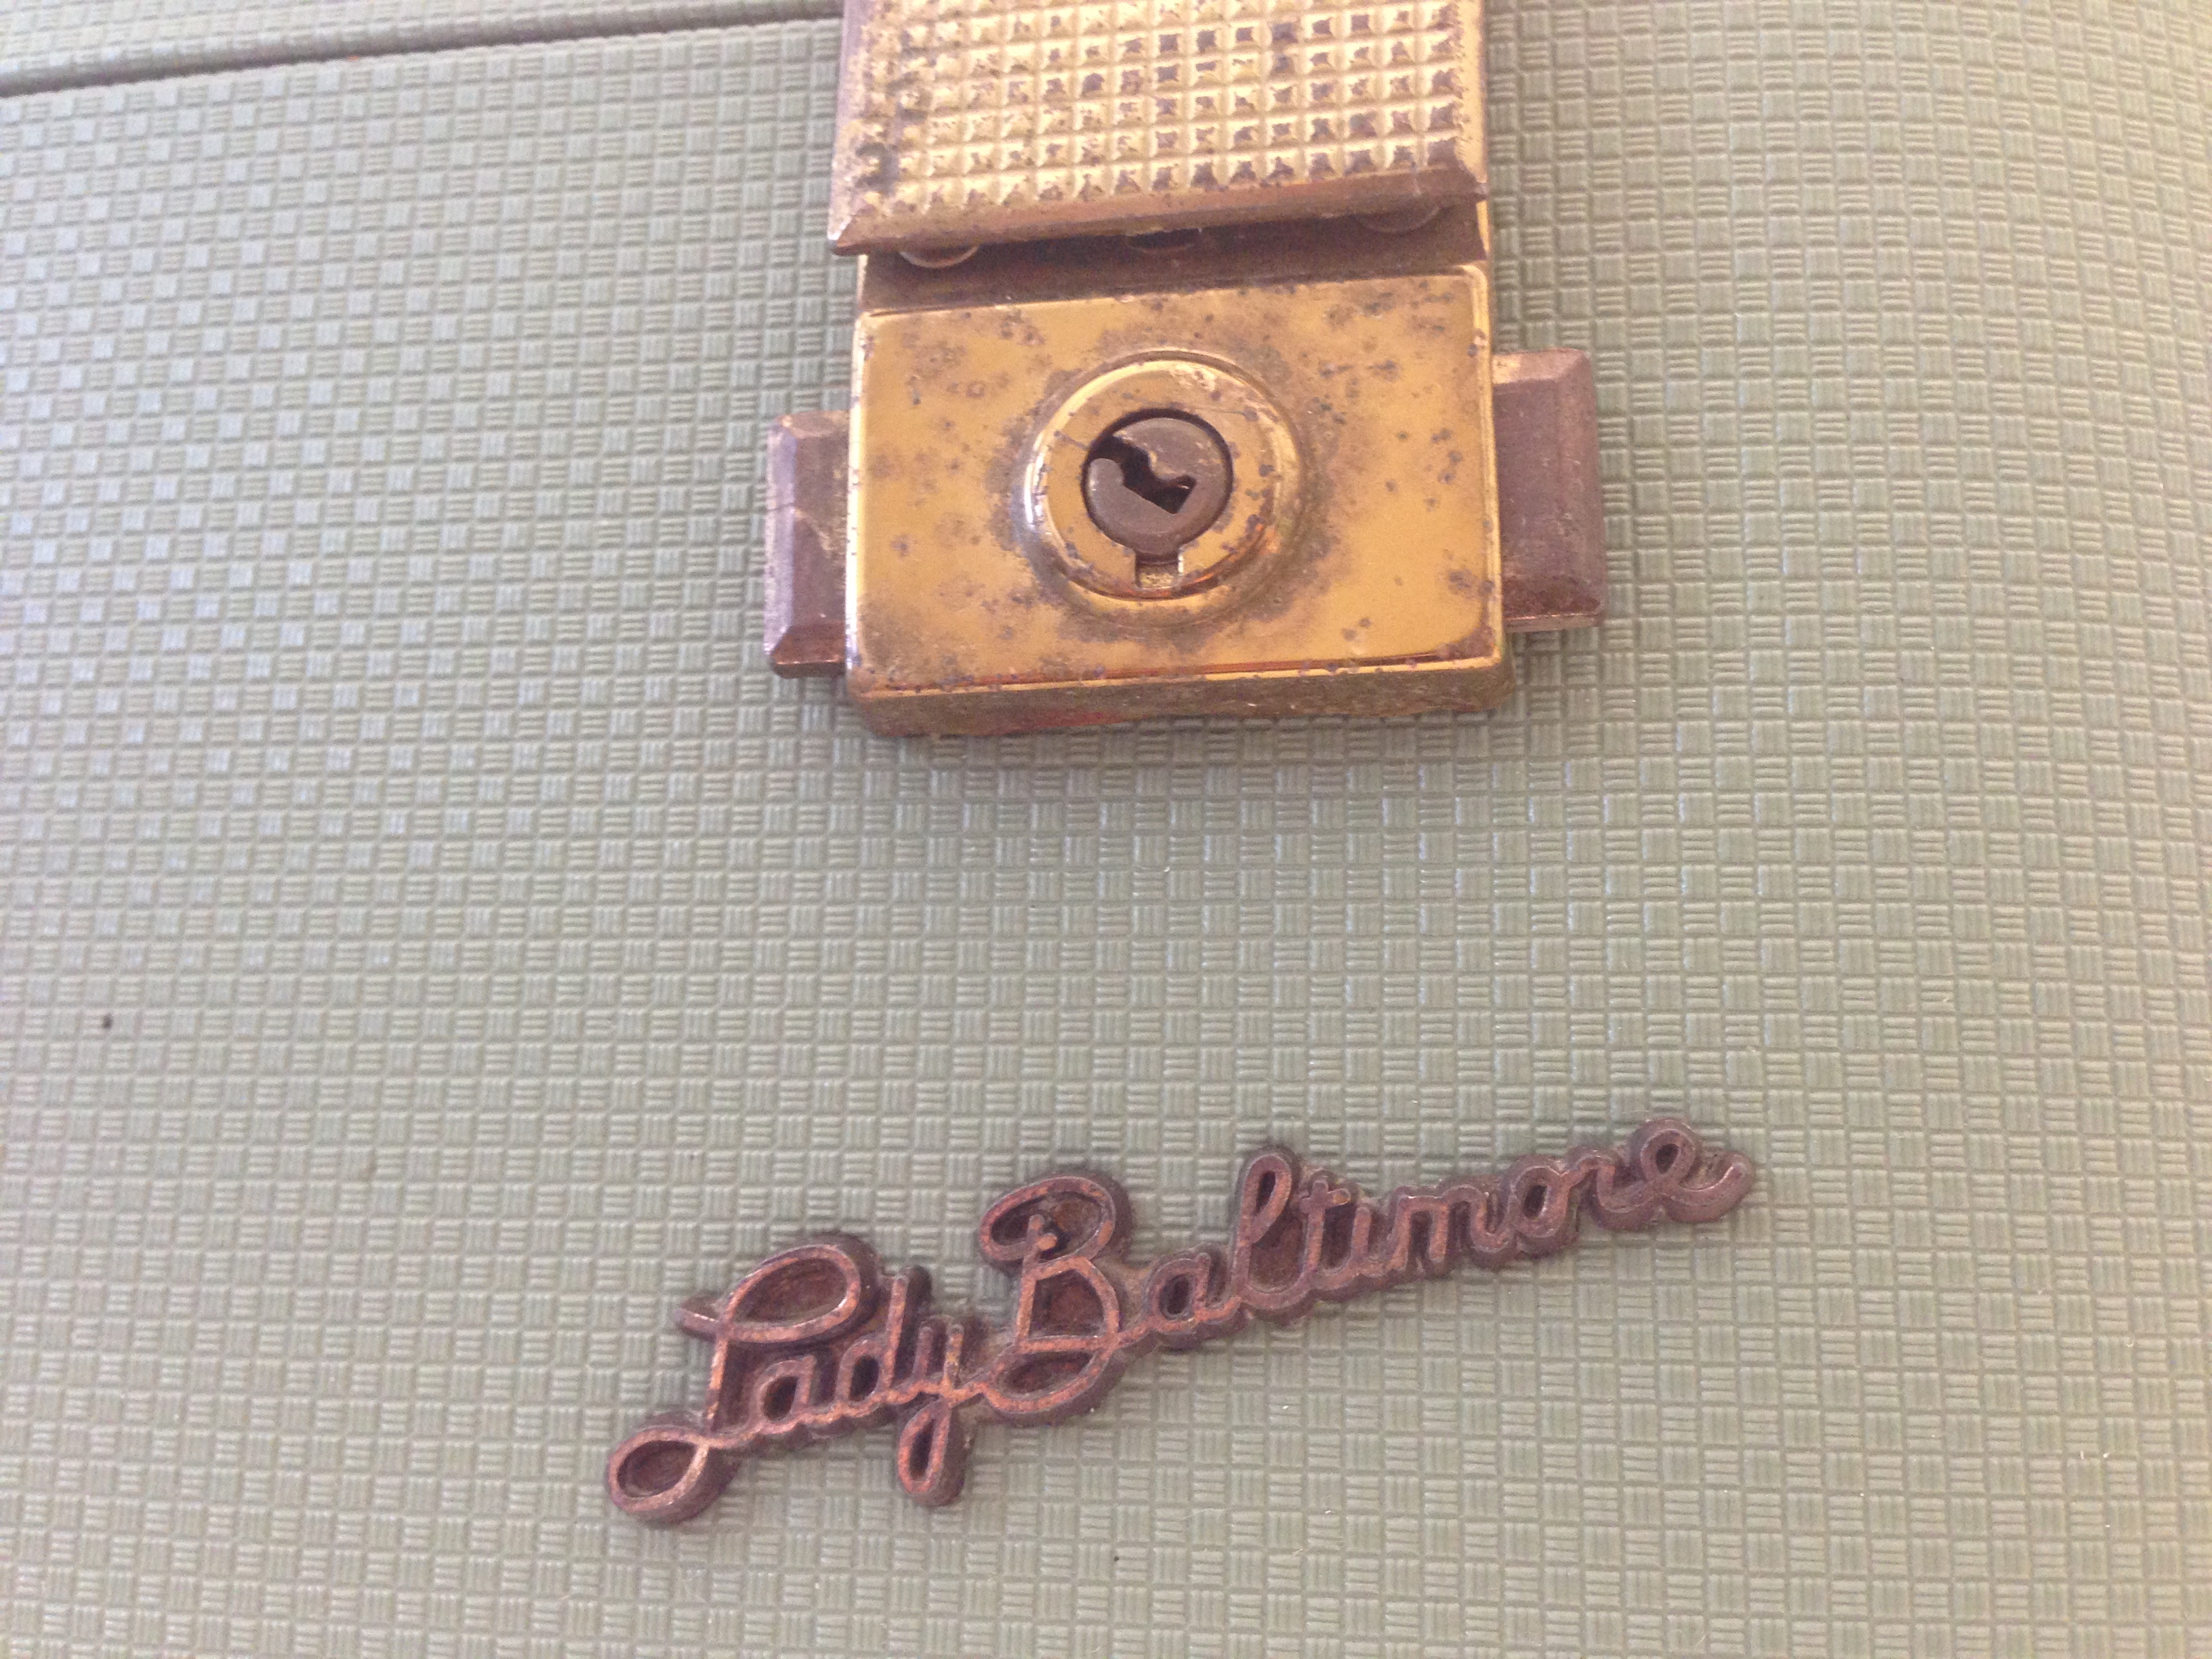 introduce, Lady Baltimore. She is the quintessential 1940s suitcase. Her exterior case is a sturdy weather-proof spring green canvas material with a teeny tiny checkerboard pattern. Her inside lining was that shiny, satiny parasol material (sorry I forgot to take a picture). She was in the normal old suitcase shape – a little musty, parasol material starting to fray, and a few questionable areas. I cleaned up the exterior with some vinegar and ripped out the existing lining. Let’s re-line her with something fun and whimsical – how about sheet music.
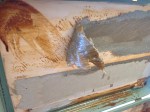
After ripping out the existing lining – which unveiled the typical cardboard backing material – you will find this material lurking behind the lining of old suitcases and trunks alike. This is where most people get discouraged. Do not fret. It will easily come off using a steamer or use the steam setting on your iron.
- Work in small sections
- Score the area in a criss-cross pattern with a scraper (a razor scraper will work the best but be careful not to damage the wood)
- Steam until the cardboard material appears wet.
- Let sit for 3-5 minutes
- Carefully scrape off
- Repeat as needed.
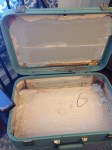
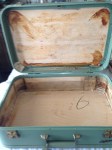
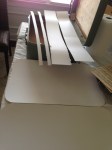
The inside of the suitcase was very uneven. There were ridges where the exterior of the suitcase attached to the inside, so first I needed to smooth out the inside so it was all the same level surface (as much as I could). I used photo matte board – comes in large sheets – cut out enough to glue to each of the sides (plain wood glue worked fine).
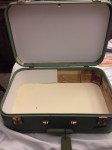
There were some gaps where the side pieces met the larger main surface area. We needed one cohesive surface which will allow pressing the lining into the edges of the suitcase. Caulk! Fill the gaps with caulk and smooth into the edges. Let dry over night.
Disclaimer: This is where my husband says I have to tell you that caulk is not a usual material used to re-store/re-purpose vintage suitcases. I’m unconventional this way. Use the caulk.
Next is the fun part. Using mod podge, gently adhere the sheet music.
- Again, work in small sections – I worked in quadrants overlapping the paper
- Apply mod podge to the sheet music itself (small paint sponges work best for applying)
- Position onto suitcase, delicately pressing the paper into the edges. Work with a half to full size of sheet music applying it from the side wall down into the main area. You want a cohesive lining to make a waterfall down the inside of the suitcase to thoroughly conceal the photo matte board and caulk. Gently press it into the edges careful not to crease the paper.
- Use a scraper to press out any air bubbles
- Apply layer of mod podge to top of sheet music – be liberal and also be sure go around the edges of each piece of paper about a good inch – this ensures the paper will lay nice and flat and properly adhere
- Use skinny individual strips to thoroughly and smoothly cover any rounded corners. Again, apply from the side wall down into the main suitcase area, vertically fanning the strips as you make your way around the corner.
Let dry overnight.
I attached a cork board to the inside of the lid to pin photographs or other keepsakes. Lady Baltimore is now an unconventional storage suitcase. Use as a bedside table top in a guest room and surprise them with books, keepsakes, etc of their liking.
Peddler Tip: Instead of plastic corkboard push pins use brass thumbtacks or the tiny safety pins that come with some clothing Tags.


Optional: Apply a layer of shellac over the lining. This will make it waterproof.
The next suitcase lining will be maps (thanks to my creative hair stylist for giving me the idea!).
-the urban peddler-


Wonderfully detailed description of your step-by-step procedure. Thanks for taking the time to make this available. Now I’m encourage to tackle the old phonograph case I picked up last weekend.